Creating a React App with Vite, TypeScript, Tailwind CSS, ESLint and Prettier (2024)
Creating a React App with Vite, TypeScript, Tailwind CSS, ESLint and Prettier involves a few steps. Here's a quick guide to get you started:
Step 1: Setting up Vite, TypeScript, React and ESLint
npm create vite@latest my-app -- --template react-ts
cd my-app
npm install
Step 2: Install Prettier
npm install prettier eslint-plugin-prettier eslint-config-prettier --save-dev
Add plugin:prettier/recommended to end of extends array in your .eslintrc.cjs configuration. Here's a basic example:
module.exports = {
  root: true,
  env: { browser: true, es2020: true },
  extends: [
    "eslint:recommended",
    "plugin:@typescript-eslint/recommended",
    "plugin:react-hooks/recommended",
    "plugin:prettier/recommended",
  ],
  ignorePatterns: ["dist", ".eslintrc.cjs"],
  parser: "@typescript-eslint/parser",
  plugins: ["react-refresh"],
  rules: {
    "react-refresh/only-export-components": [
      "warn",
      { allowConstantExport: true },
    ],
  },
};
- Create a
.prettierrcfile in your project root:
{
  "semi": true,
  "trailingComma": "all",
  "singleQuote": true,
  "printWidth": 80,
  "tabWidth": 2
}
- Update
lintand addlint:fixto your project's scripts:
// package.json
{
  "scripts": {
    "lint": "eslint . --ext ts,tsx --report-unused-disable-directives --max-warnings 0 && prettier . --check",
    "lint:fix": "eslint . --fix && prettier --write --list-different ."
  }
}
- Run ESLint and Prettier with
npm run lintand auto-fix issues withnpm run lint:fix.
Step 3: Install Tailwind CSS
- Install Tailwind CSS and its peer dependencies:
npm install -D tailwindcss postcss autoprefixer
- Generate
tailwind.config.jsandpostcss.config.jsconfigurations:
npx tailwindcss init -p
- Configure paths to
tailwind.config.js:
/** @type {import('tailwindcss').Config} */
export default {
  content: ["./index.html", "./src/**/*.{ts,tsx}"],
  theme: {
    extend: {},
  },
  plugins: [],
};
- Add the Tailwind directives to your CSS file
src/index.css:
@tailwind base;
@tailwind components;
@tailwind utilities;
- Start using Tailwind in your project. For example, update
src/App.tsxto use Tailwind's utility classes:
import "./App.css";

function App() {
  return (
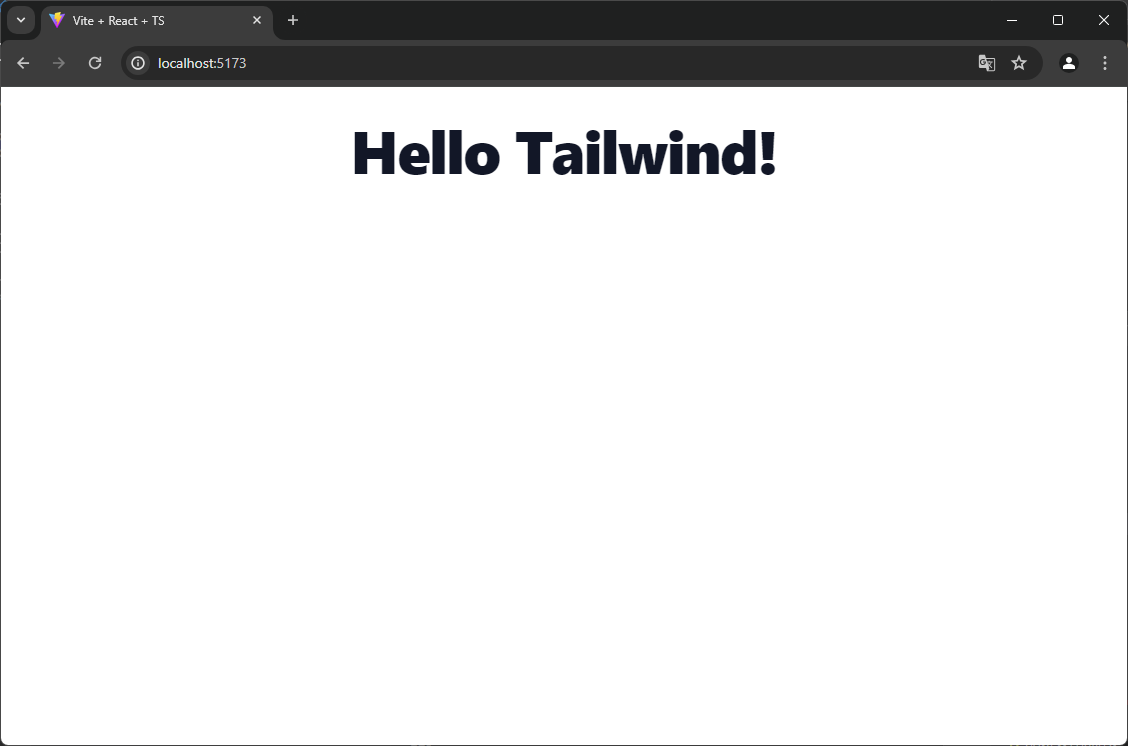
    <h1 className="text-6xl font-extrabold leading-none tracking-tight text-gray-900">
      Hello Tailwind!
    </h1>
  );
}

export default App;
Start the development server
- Start the development server and see your changes:
npm run dev

Optional
- VSCode
- Install extensions:
- Enable Format On Save
- Navigate to File > Preferences > Settings.
- Navigate to Text Editor > Formatting or search
editor.formatOnSave. - Check the Editor: Format On Save.
- WebStorm
- Configure
- Enable Format On Save
- Navigate to File > Settings > Tools > Actions on Save.
- Check the Reformat and Cleanup Code option.
- Select the Reformat Code profile.
Conclusion
This combination of tools offers an excellent starting point for your app. Keep in mind that this is a basic setup. As you continue developing your app, consider customizing configurations, adding additional plugins, or adjusting the build process to align with your specific requirements. Happy coding!